Programmer/Debuggers
Programming involves placing the HEX file built by MPLAB® X IDE into the non-volatile program memory of the MCU. After the MCU has been programmed, the application will begin running each time the MCU exits reset. Programming requires a programmer/debugger to be connected to the MCU. The programmer/debugger supplies all the electrical signals, clocking, and data needed by the MCU to place the application code into the on-board program memory.
Clicking on the Make and Program Device  icon will cause MPLAB X IDE to build the current project and program it into the device.
Stand-Alone Programmer/Debuggers
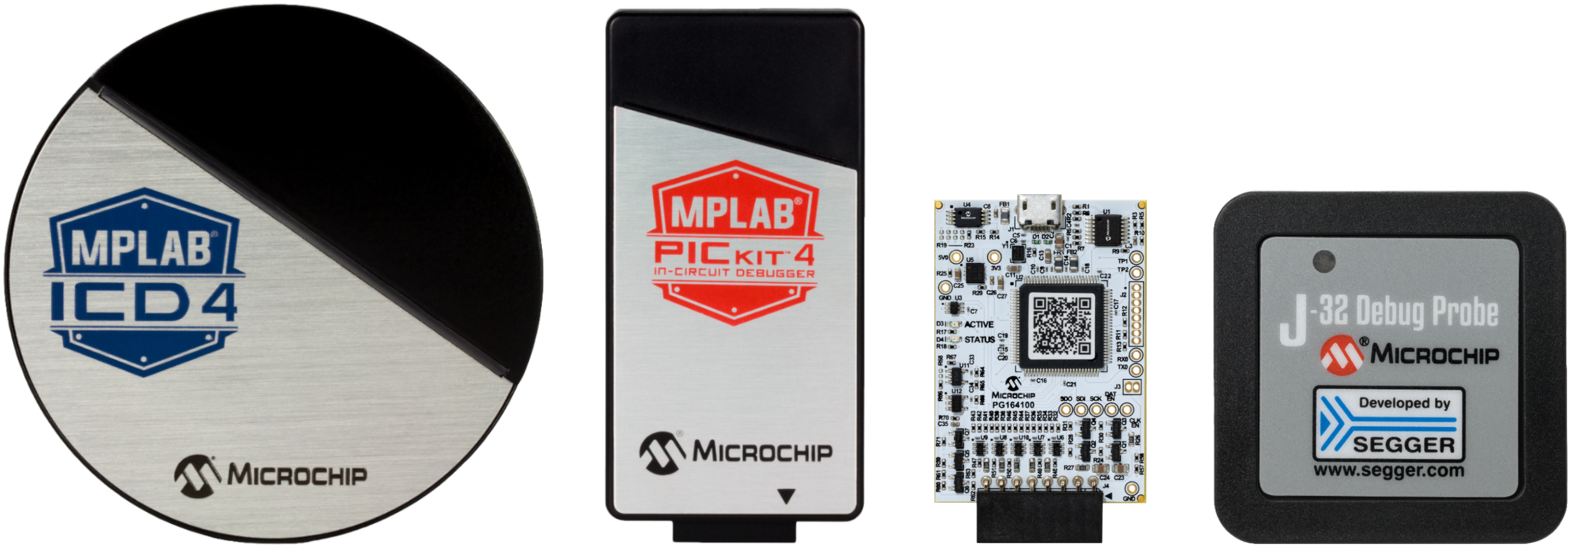
Stand-alone Programmers/Debuggers are simultaneously connected to your computer and a board containing the MCU. As of now, there are 4 stand-alone Programmer/Debugger tools recommended by Microchip. The choice of tool depends upon the MCU being programmed.
Stand-Alone Programmers/Debuggers
| AVR® MCU |
PIC® MCU | dsPIC® DSC |
SAM MCU | 32-bit MPU | |
|---|---|---|---|---|---|
| MPLAB ICD 4 | - | Y | Y | Y | - |
| MPLAB PICKit™ 4 | Y | Y | Y | Y | - |
| MPLAB Snap | Y | Y | Y | Y | - |
| J32 Debug Probe | - | PIC32 | - | Y | Y |
On-Board Programmer/Debuggers
Most Microchip development boards contain on-board programming/debugging circuitry. If you are using one of these boards, you do not need a stand-alone programmer/debugger. Just connect your computer to the development board with a USB cable and you are good to go.
When using development boards with on-board programming/debugging capabilities, you must configure the project to use the "PIC Kit On Board" or "PKOB" as the selected hardware device. (This process is described in the Project Configuration lesson in this tutorial.)
