Creating a Project
The first step in an FPGA design is to open Libero SoC and create a blank project.
1) Click Start > Programs > Microsemi Libero SoC v12.x > Libero SoC v12.x, or click the shortcut on your desktop. The Libero SoC PolarFire Project Manager opens, as shown below.
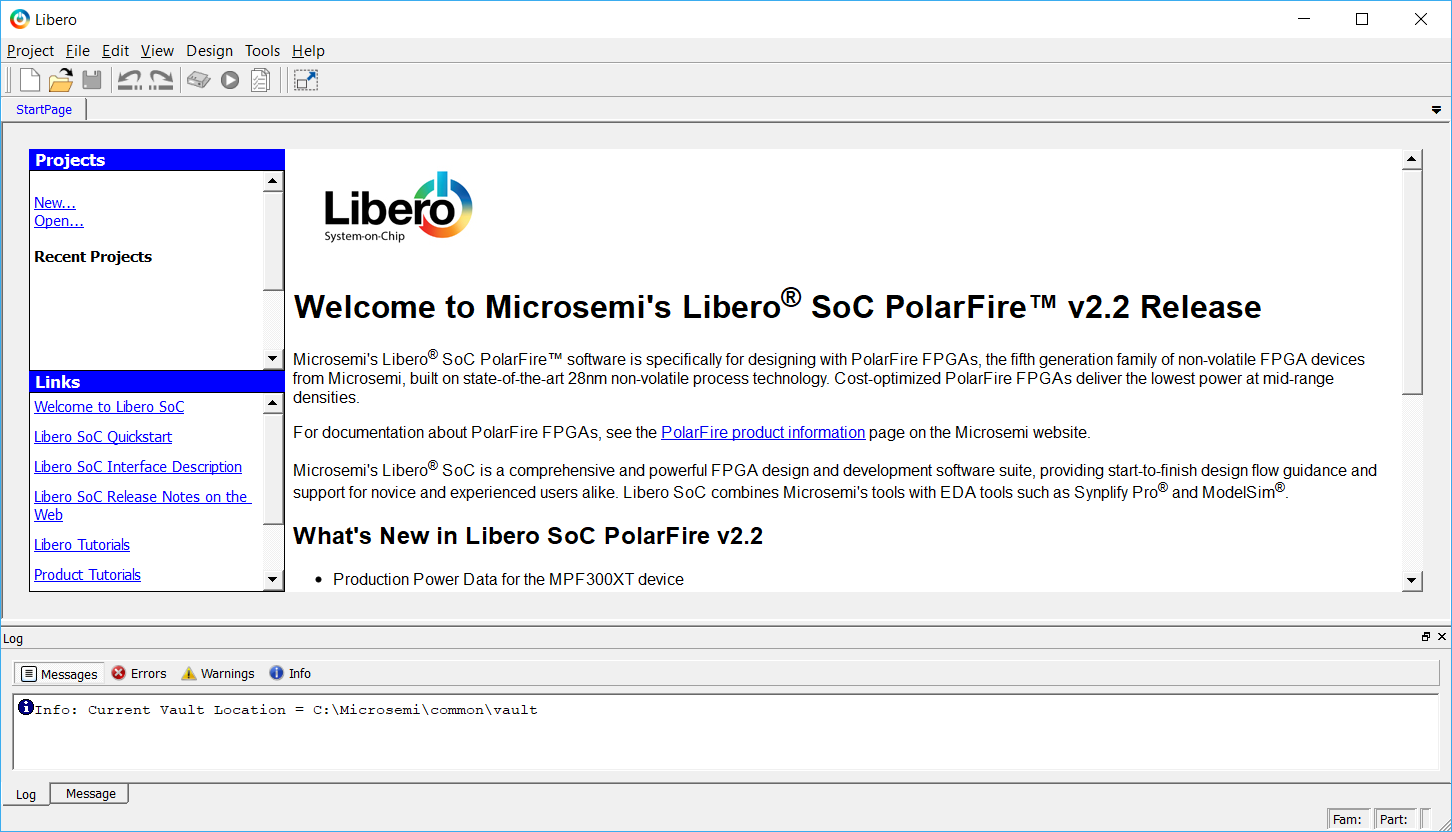
2) Open Libero's new project wizard by clicking New on the Start Page tab or by clicking Project > New Project from the Libero SoC menu.
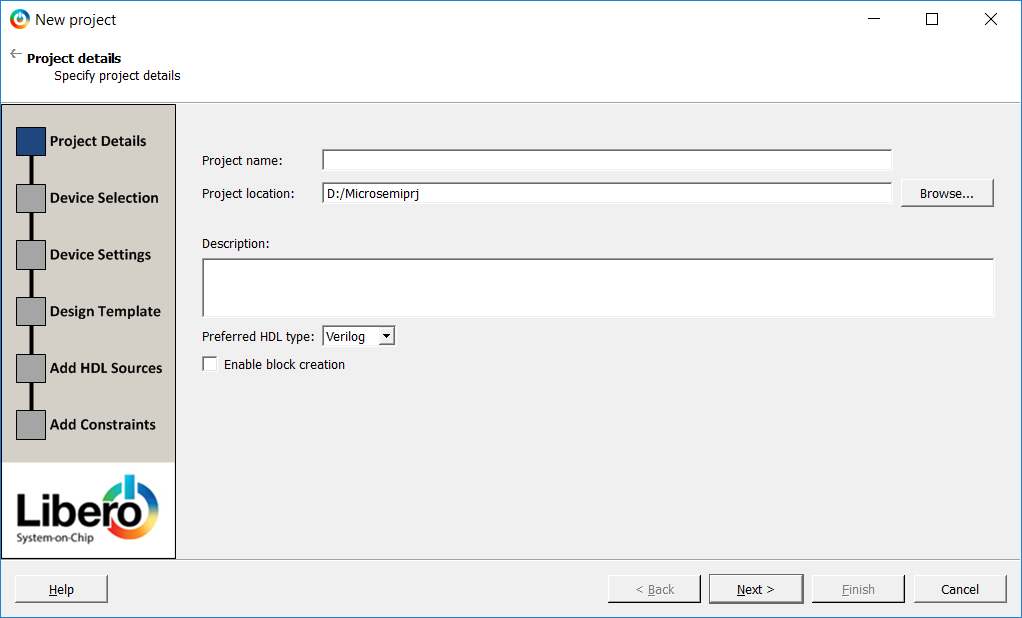
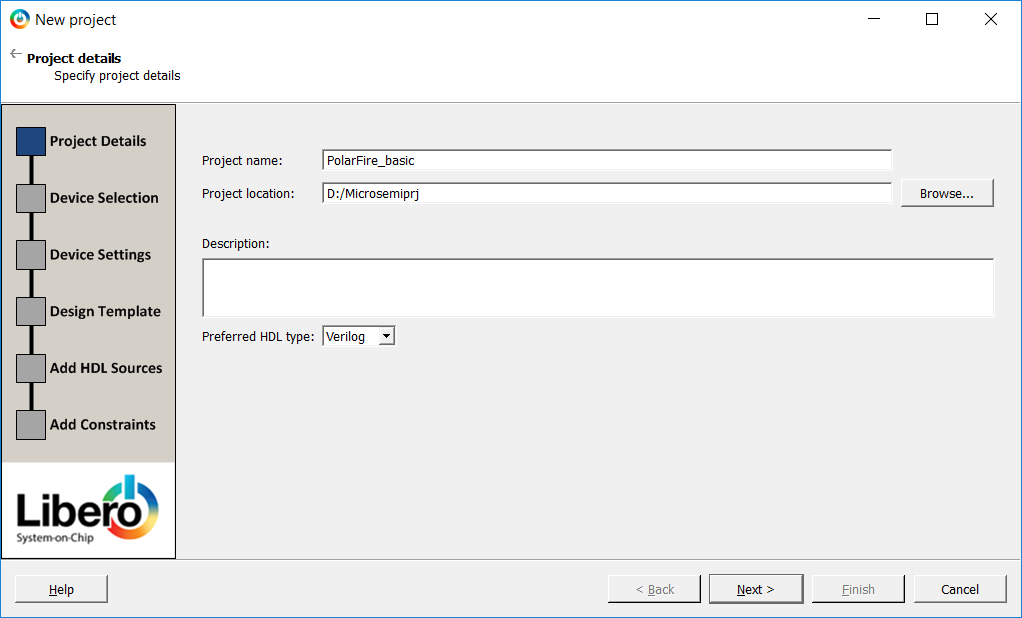
3) Enter the information shown below in the Project Details pane of the New Project dialog box then click Next:
- Project Name: PolarFire_basic (Note: name is case sensitive for Verilog designs.)
- Project Location: <C: or D:>/Microsemiprj (or the path where the files were extracted if different)
- Preferred HDL type: Select either VHDL or Verilog based on your HDL preferences
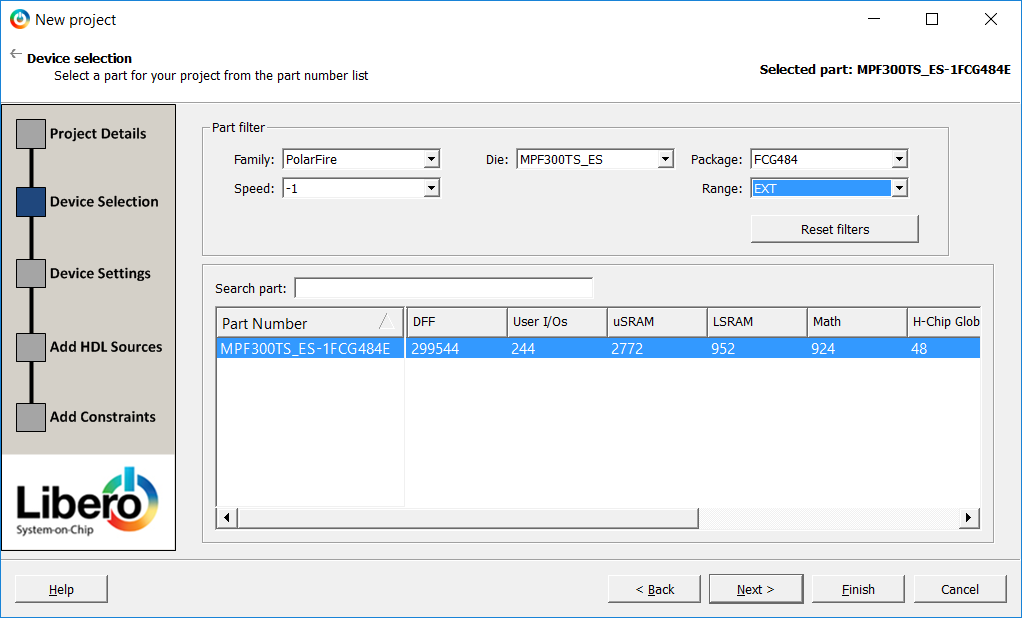
4) This tutorial uses the standard MPF300T on the development board. Enter the following in the Device Selection pane of the New Project dialog box then click Next:
- Family: PolarFire
- Die: MPF300T_ES
- Package: FCG484
- Speed: -1
- Range: EXT
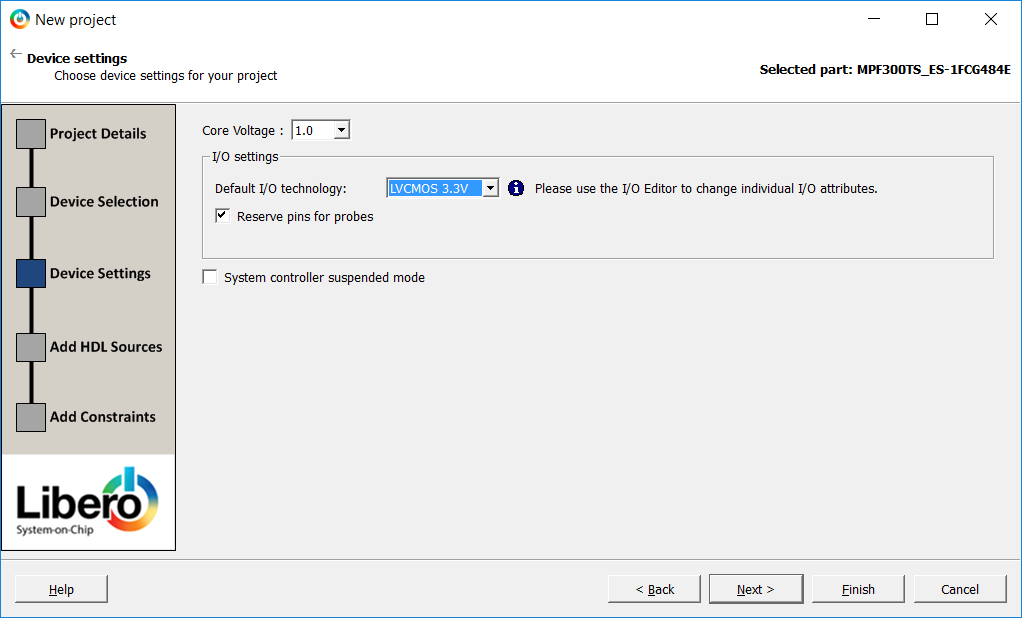
5) Enter the following in the Device Settings pane of the New Project dialog box then click Finish:
- Core Voltage: 1.0 (default)
- I/O Settings
- Default I/O technology: LVCMOS3.3V
- Reserve pins for probes: checked (default)
- System controller suspended mode: un-checked (default)